‘Every time a child says, “I don’t believe in fairies,” there is a fairy somewhere that falls down dead.’ ~James Matthew Barrie, Peter Pan
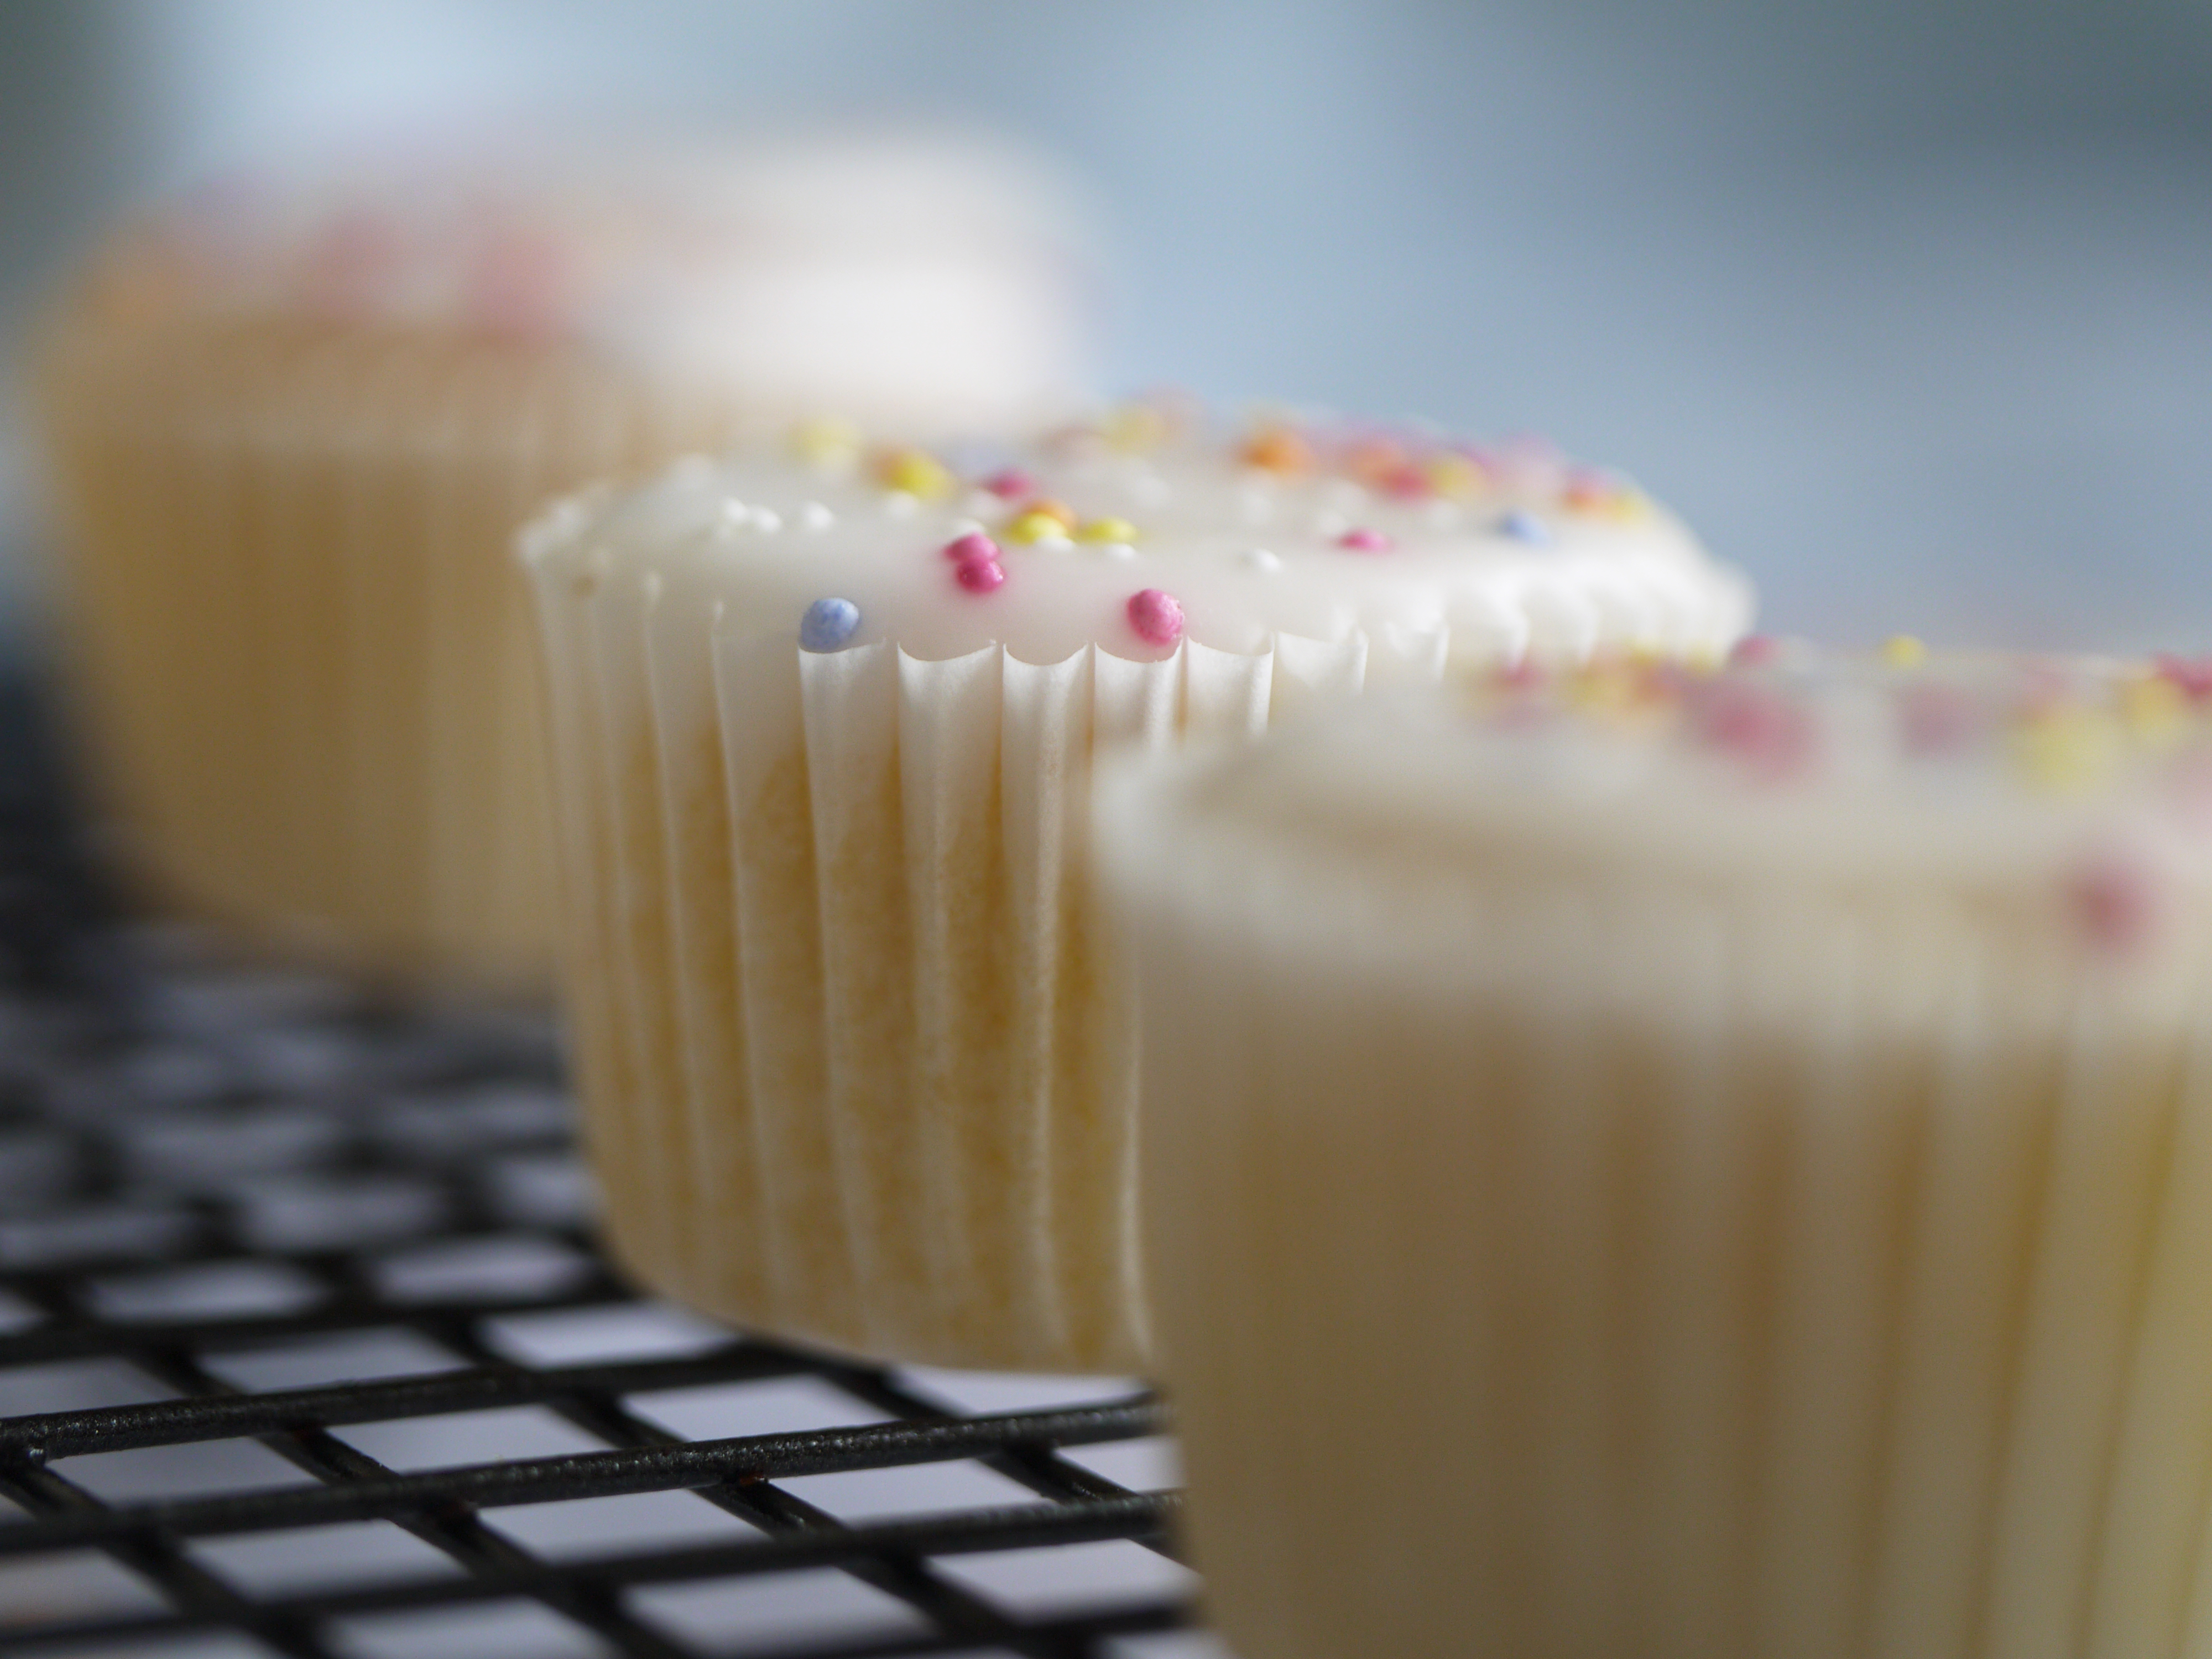
My boys’ favourite cakes. When we decorate them, they chatter away about how the silver sugar powder we use to finish them is magic fairy dust gathered from the wings of river fairies and once they’re decorated they adamantly insist on leaving a few out as a thank you for any dainty visitors that come with the dew in the small hours just before sunrise.
For those curious about the difference between a fairy cake and a cupcake, the only real difference is history and size. Historically Americans have always baked the slightly larger cupcakes, while in England the fairy cake was given its whimsical name precisely because of its diminutive size – petite enough to be served to these tiny mythical creatures. Truthfully though, since the typical English fairy cake is still a little too big for hungry little boys, we usually make them properly mini. This recipe uses our time honoured basic cake mixture that simply never fails and is so easy to remember and adapt, you won’t need to bother looking it up after you’ve done it once.

Notes
– Baking tip: This recipe already yields a light cake, but if you want to achieve bakery softness of texture use cake flour. Better still, if you have the time, separate your eggs. Add the yolks into the batter and in a separate squeaky clean, dry bowl (vital for this method) beat the egg whites and then fold the egg whites in with the finished batter.
WHAT YOU’LL NEED
Equipment:
- cupcake/fairy cake tin like this – we used a mini cupcake tin like this
- paper cases – standard or mini
Makes: 12 standard size fairy cakes or 24 mini ones
INGREDIENTS
For the sponge mixture:
-
- 115g/4oz butter or margarine, softened at room temperture
- 115g/4oz caster sugar
- 2 large free range eggs
- 1 teaspoon vanilla essence
- 115g/4oz plain flour
- 1½ teaspoons baking powder
- 1-2 tbsp milk
For the glacé icing:
-
- 300g/10.5oz icing sugar
- 2-3 tbsp water
- 2-3 drops food colouring (optional – we left the icing plain)
- hundreds and thousands (or any other decoration of choice)
METHOD
Making the sponge:
- Preheat the oven to 165C/330F/Gas mark 3 and line your cake tin with paper cases.
- Cream butter and sugar together until pale and fluffy, using an electric mixer if you have one.
- Continue to beat in the eggs, a little at a time, and add the vanilla essence. You can alternatively chose to separate your eggs for this stage for en extra tender cake – if separating, add the egg yolks now and continue on with the steps below, remembering at the end to whip your eggs separately in a squeaky clean bowl before adding them in very gently to the final mix.
- Fold in the sifted flour and baking powder gently being careful not to beat out the air. You should have a smooth batter. Add the milk until the mixture is of a dropping consistency.
- Spoon the mixture into the cupcake cases, filling half full. Over filling will leave no room for flooding the cakes with the glacé icing. Generally this step just takes a little experience to be confident getting it right.
- Bake in the oven for 6-8 minutes if doing mini cakes and 10-12 minutes if doing standard size fairy cakes.
- Set aside to cool.
Making the icing:
Sift the icing into a mixing bowl and stir in the water bit by bit until you have a nice consistency – you want it to be thin enough to pour over the sponge, but thick enough to create good coverage. Too thin and it’ll seep down the sides and into the sponge instead of sitting on top. If you want to colour it, add a few drops of food colouring at this point.
Icing the cakes:
Once the cakes are fully cool (if not cooled, the icing won’t set), drizzle your icing over the cakes, sprinkle with decorations and leave to set util the icing hardens.
Finally, serve with a pot of tea and let the little ones sneak a cake off to leave by their fairy door in the garden.

