“Mummy, I’m counting dinosaurs not sheep tonight”
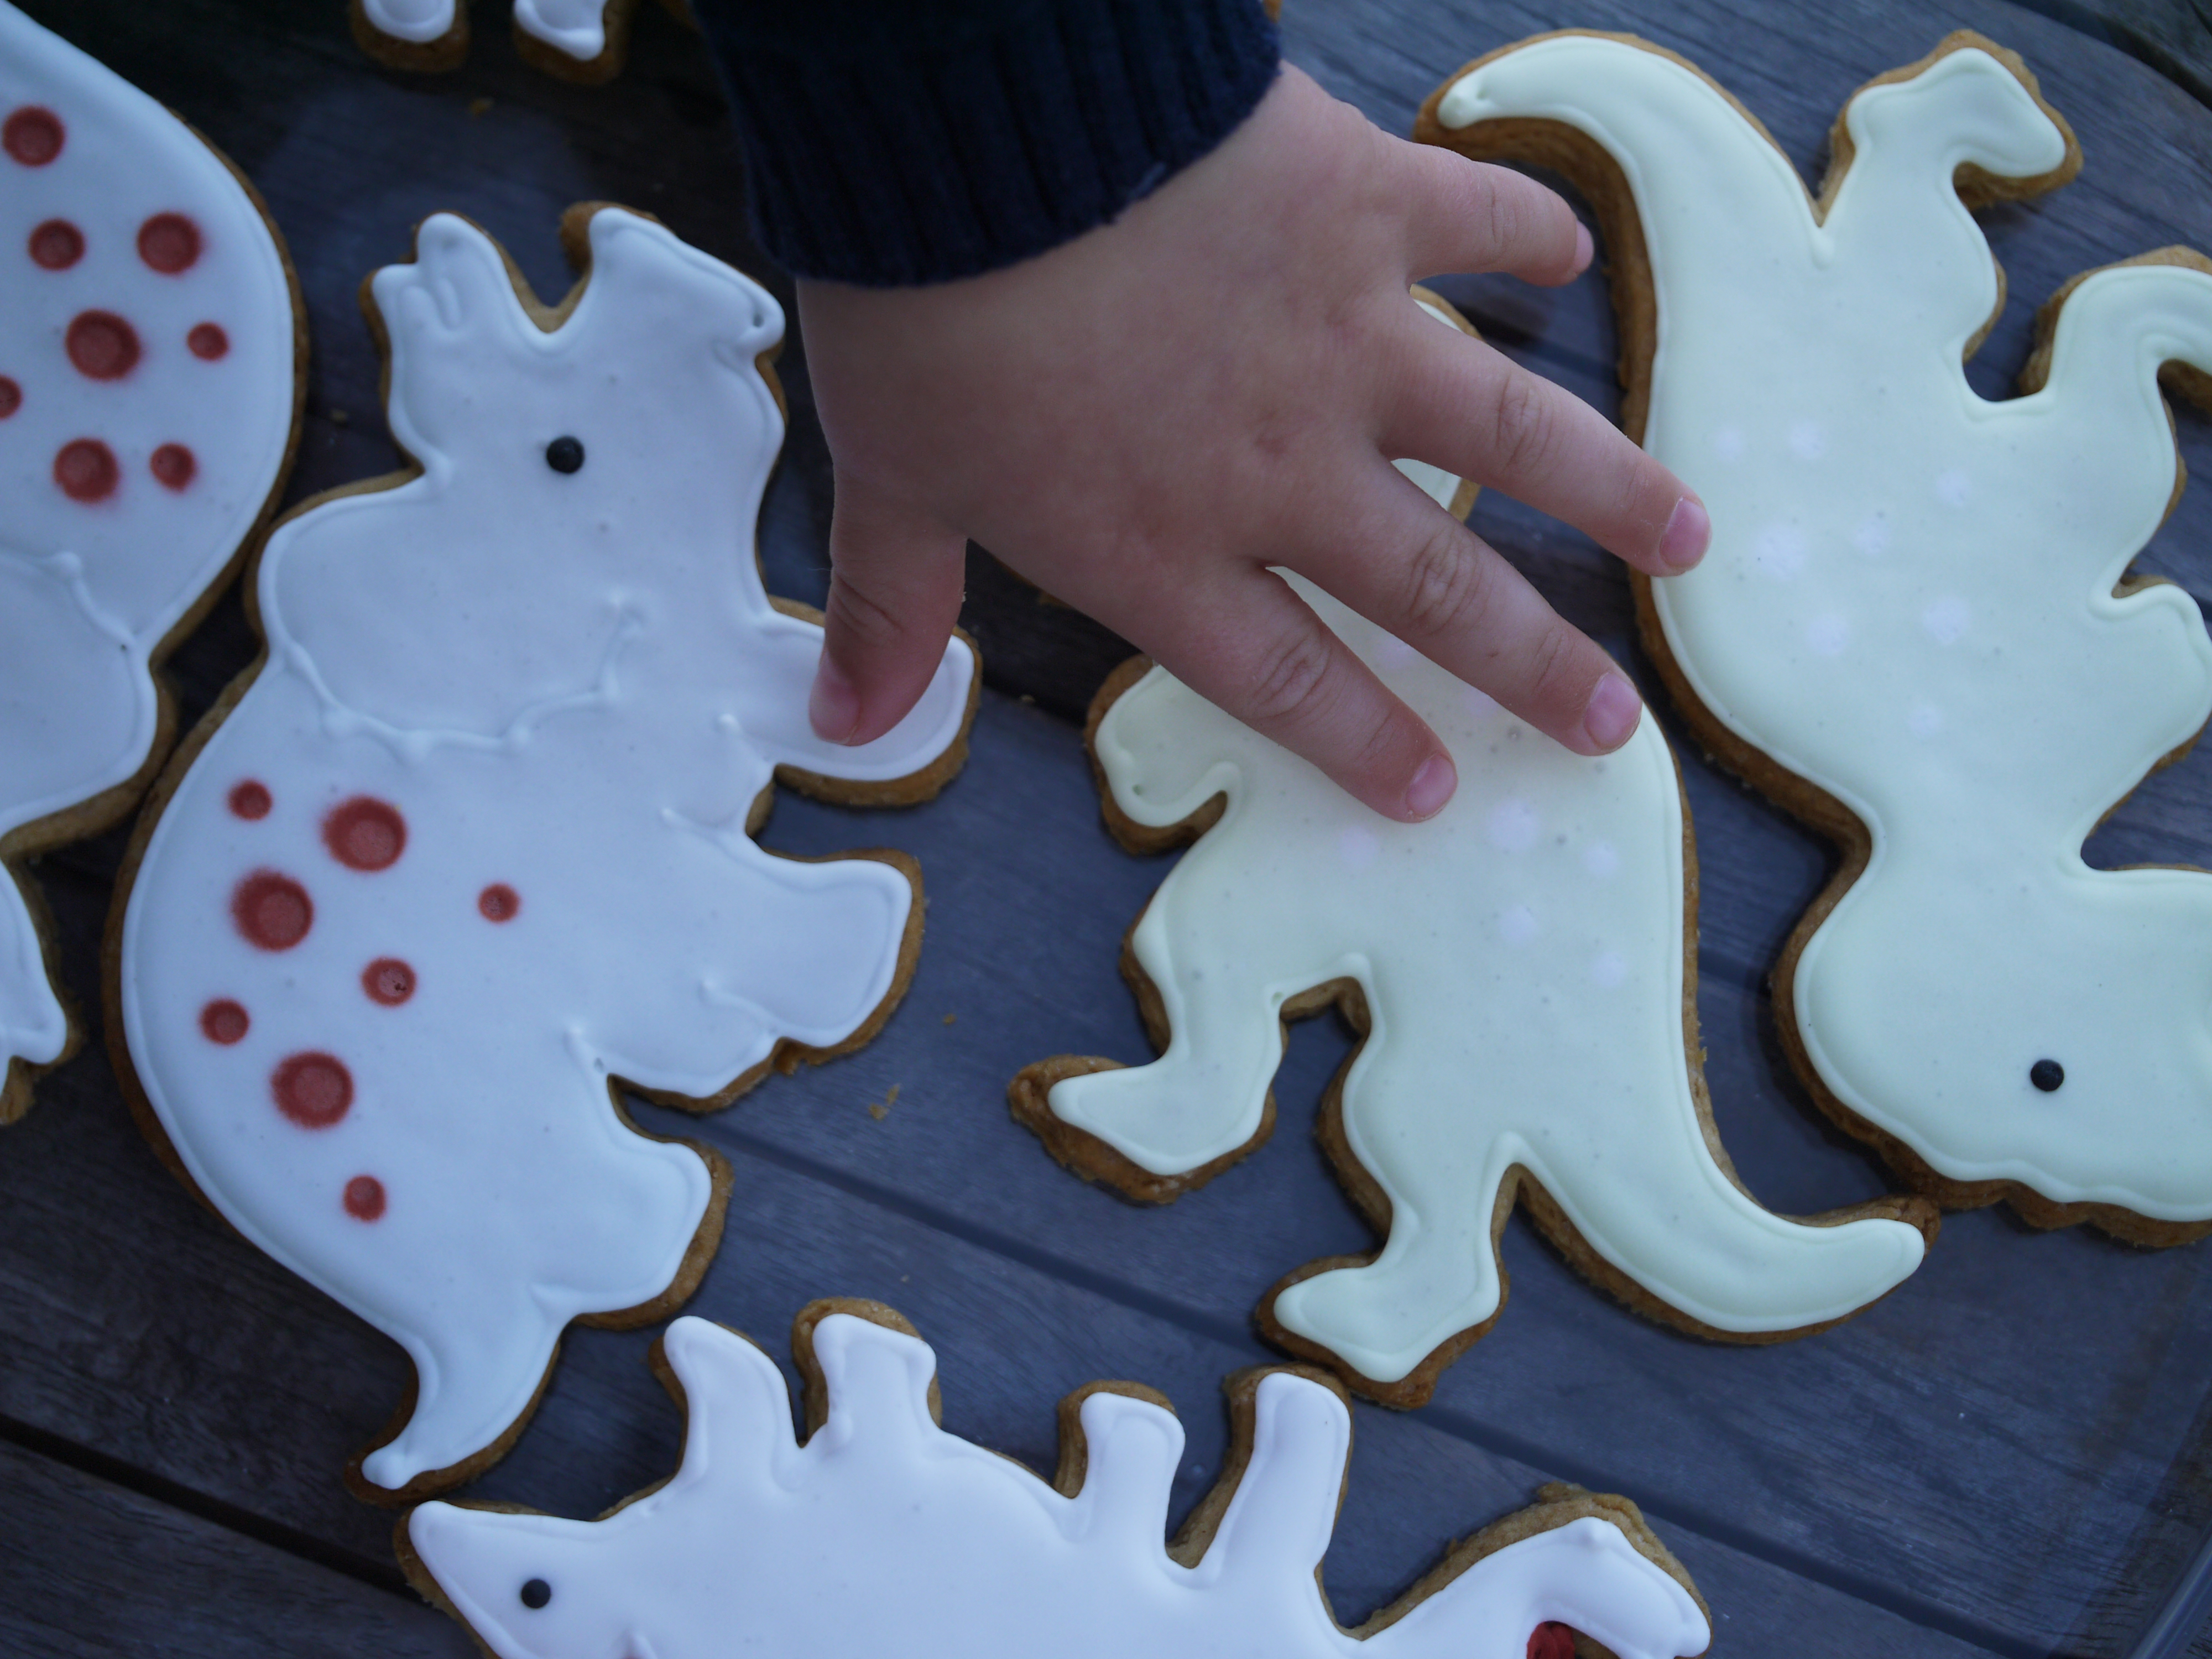
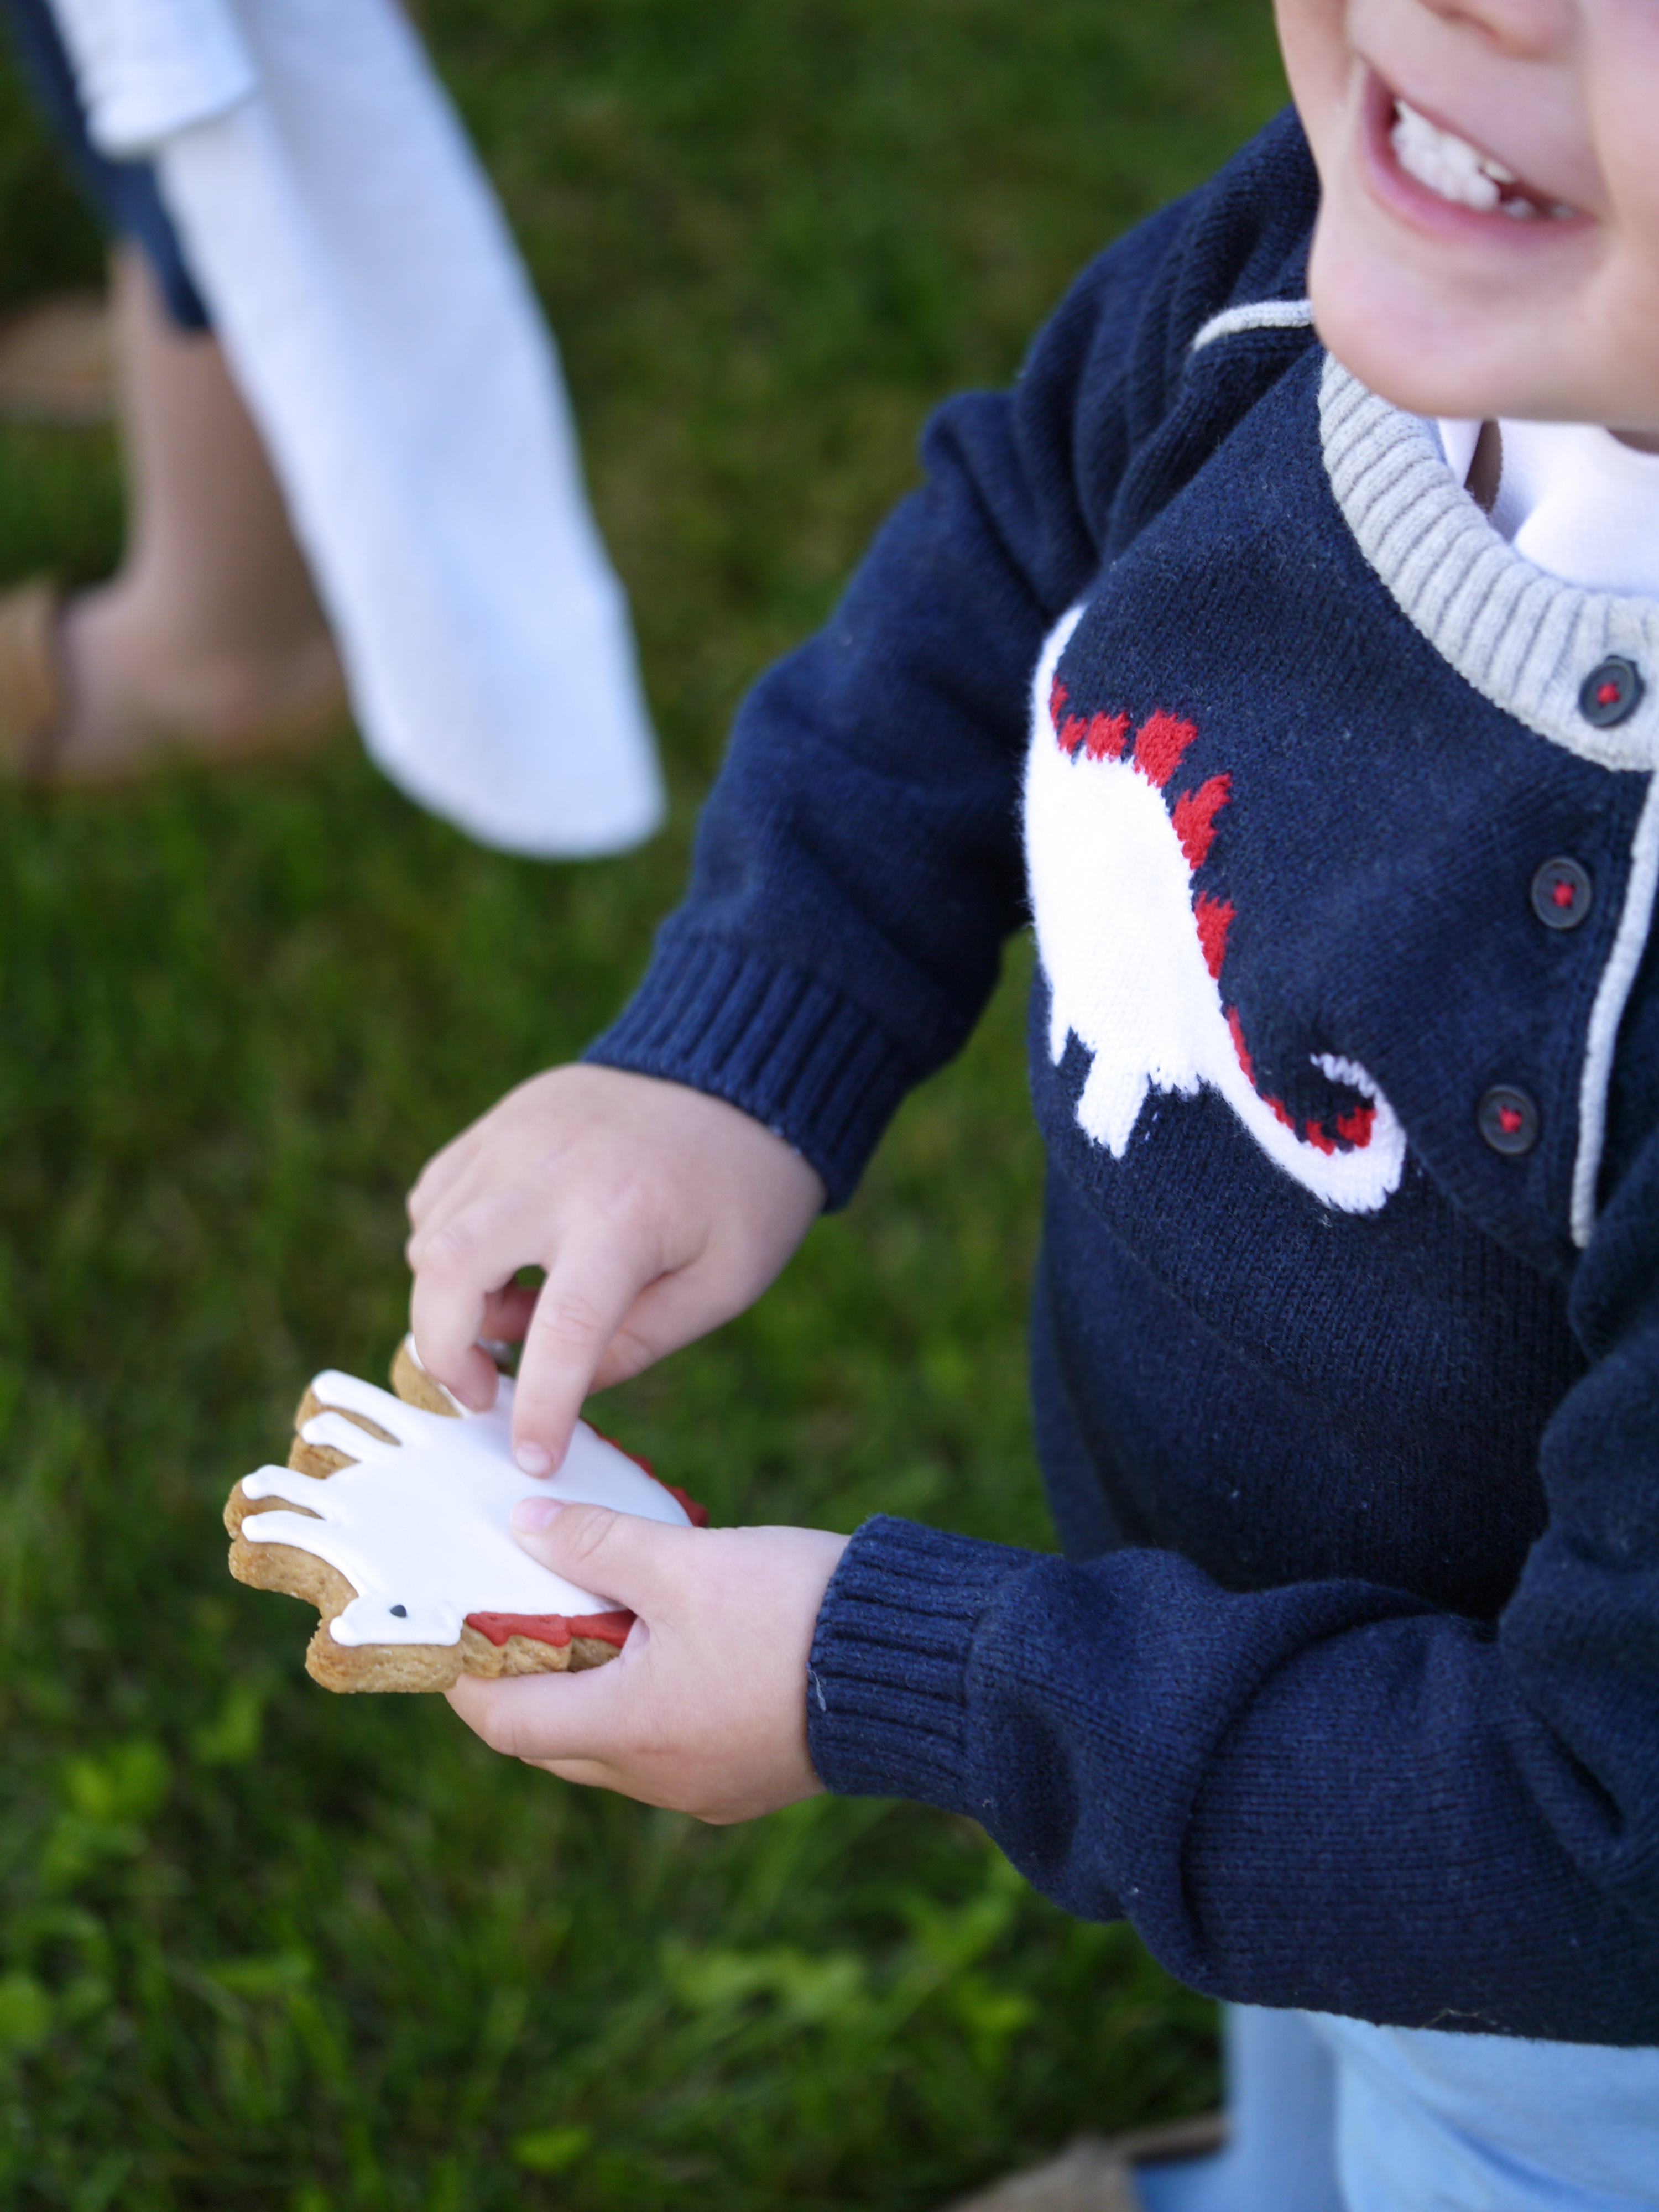
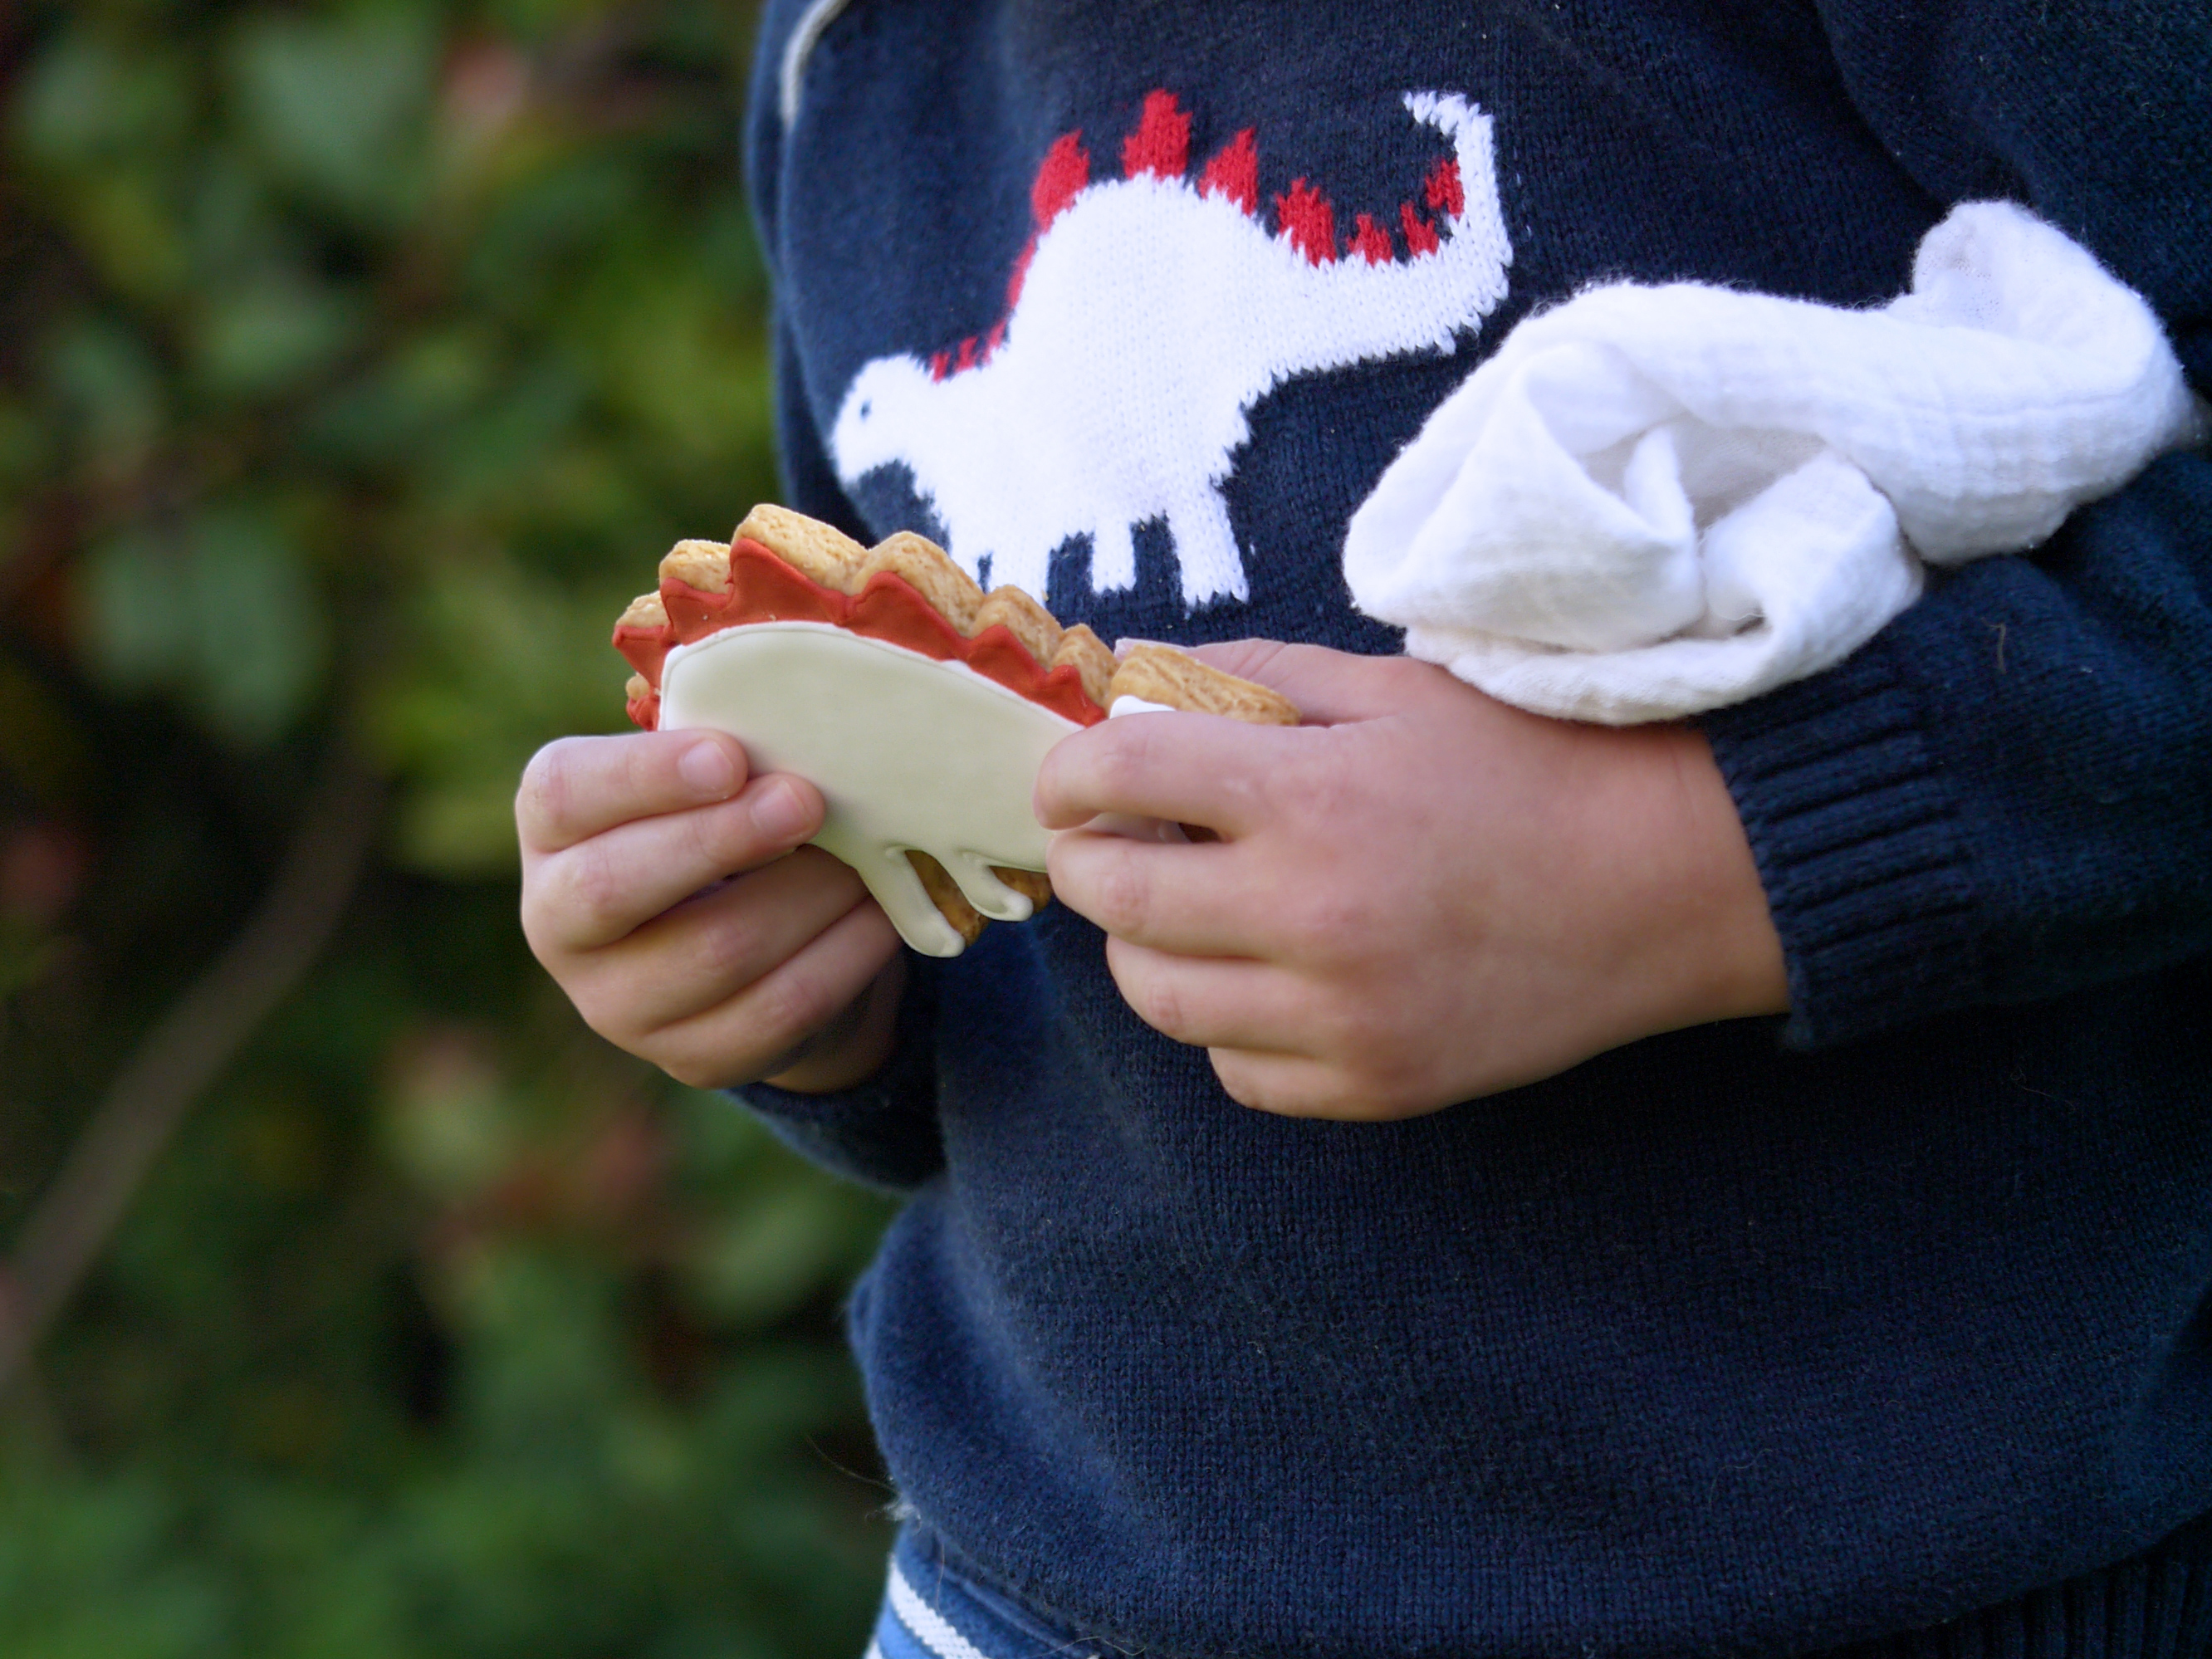
We’ve been dinosaur dotty in our household for a while now – pretty much ever since we gave our youngest a ‘Gantosaurus’. So when friends suggested a trip to the Natural History Museum in London we thought it good timing – our boys were in dinosaur heaven. As we started for home stopping by the White Company the boys were over the moon to find the boy section dinosaur-clad for the season and we spent the next ten minutes choosing pyjamas, jumpers, toys and anything with a hint of these prehistoric grizzlies they could find. Biscuit baking at the weekend too naturally had to be dinosaur themed, so we had a go at re-creating the very dinosaurs woven into their new knits.

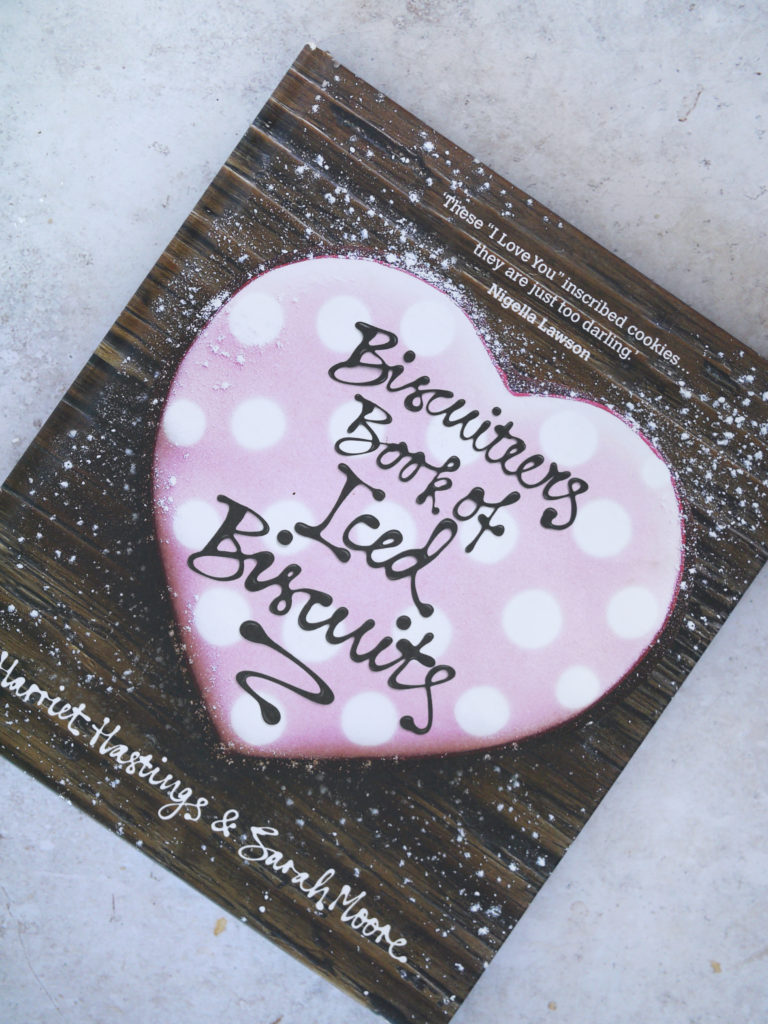
Alas, if you’re looking for a way to entertain the littles, choose a rainy day, grab an apron and rustle up some of these dinosaur iced biscuits – or of course choose any cutters for themes you prefer. Using the beautiful run out technique, I always rely on the Biscuiteers book for a failsafe approach to icing biscuits. I’ve outlined their whole process below, from start to finish.
NOTES
– The easiest time to roll out your dough is straight after you’ve made it – it’s softer and more pliable at this point. If you want to make the dough ahead of time roll it into two flat discs, cover with Clingfilm and refrigerate. Then bring to room temperature when you need to use it.
– Adding flour to help roll out the dough makes it tougher, so avoid this. The trick is to roll it between two sheets of baking parchments. This means you don’t have to use any extra flour at all, so it’s a technique worth perfecting.
– To make your dough as even as possible you can use rolling guides, which you can buy from specialist shops. We use this rolling pin which uses a similar concept. Gently roll the dough until it is 5mm thick or just under.
– Transfer the whole sheet of rolled dough (still sandwiched between its sheets of parchment) to a baking tray and place in the fridge to chill for at least 20-30 minutes before cutting.
– For the royal icing, when mixing to the right consistency for your line or flood icing and making adjustments to the basic recipe, remember that whenever you add water, a tiny bit goes a long way. It’s easy to add too much too fast. To prevent dramatic changes, fill a small bowl with water and just add a teaspoon at a time, mixing very gradually to achieve perfect consistency.
– Similarly when colouring your icing, a tiny bit of colouring goes a very long way particularly if you’re wanting to achieve pastel colours – it’s again much to easy to overdo it, so go slowly, with tiny amounts on a cocktail stick. For very dark hues, and black in particular, these do require obscene amounts of colour sometimes – we usually only use dark colours for the small detail.
WHAT YOU’LL NEED
Equipment:
For the biscuit dough:
- rolling pin – we use this one
- baking parchment paper
- cutters – inspired by the boys’ White Company jumpers, link for the jumpers here, we grabbed a stegosaurus cutter for a similar shape, plus another two that came in the set – a Triceratops and a Tyrannosaurus Rex. Find our three cutters available here. These cutters also actually come with stamps to create dinosaur skeleton depressions in the cookie dough, but we kept it simple using just the outer cutting shape since we were doing full run outs over the biscuits, not just the skeletons.
For the royal icing:
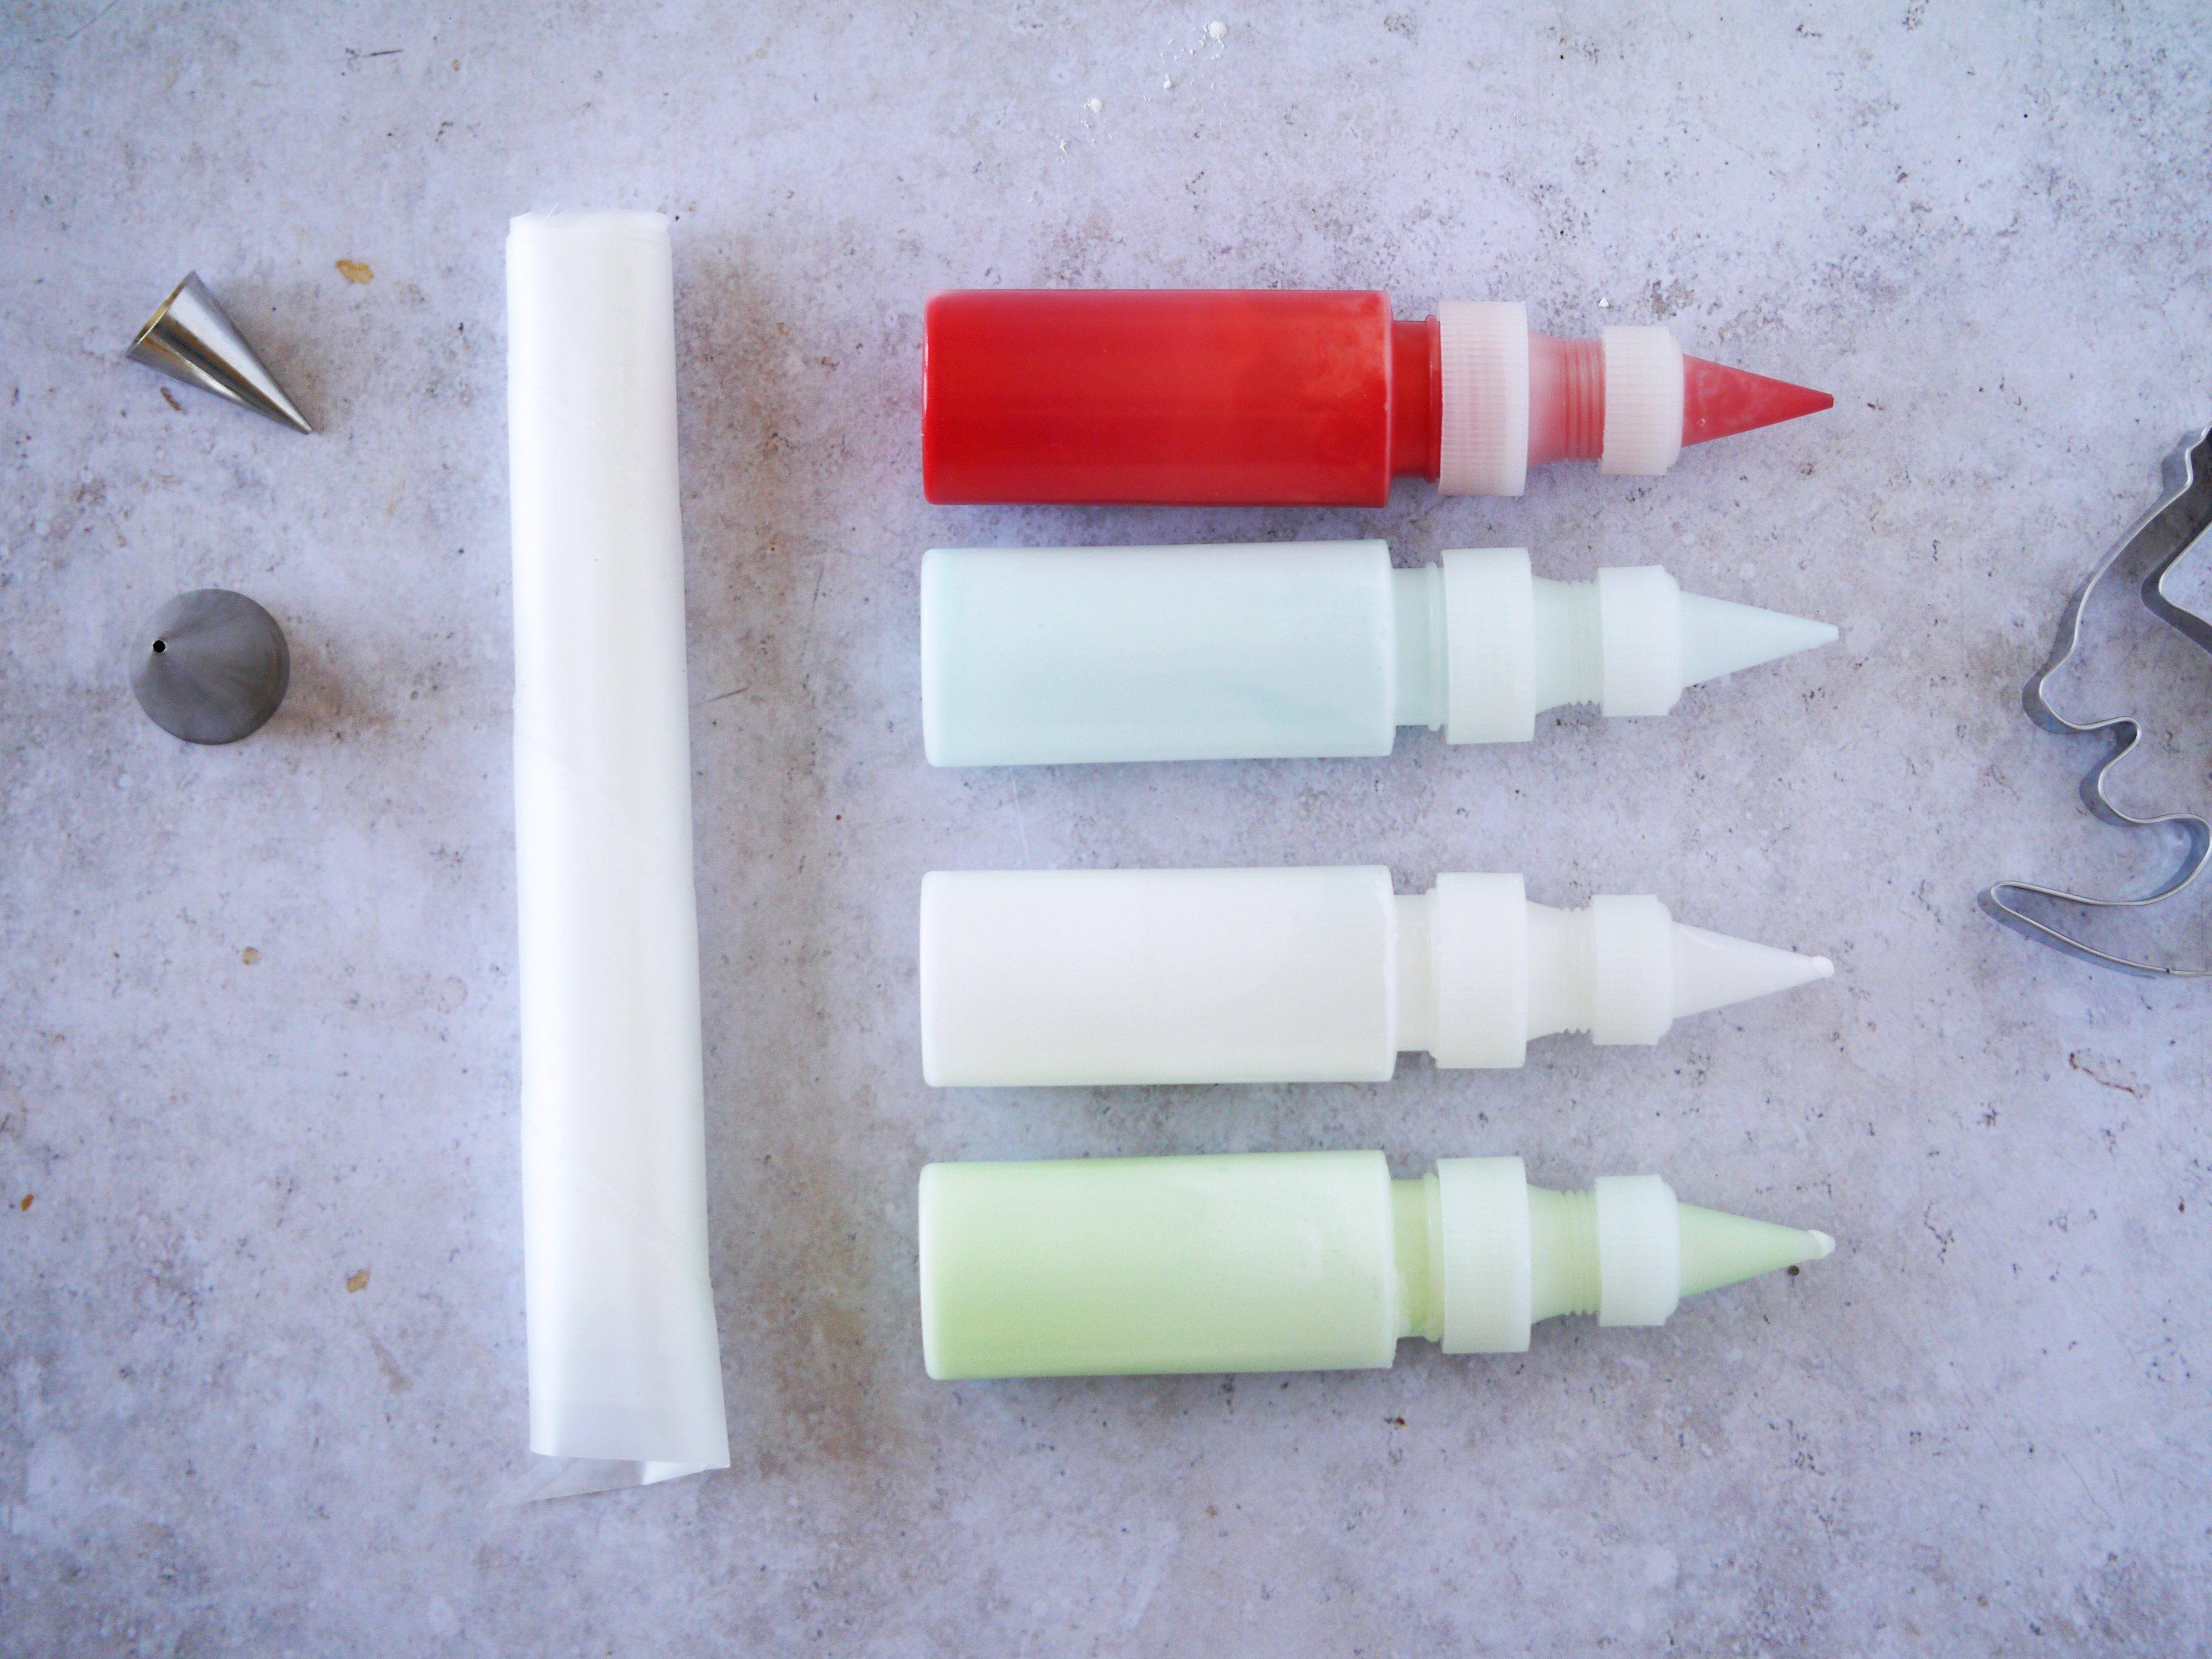
- whisk
- disposable piping bags
- nozzles – ideally one nozzle for every individual colour. For high quality results and a fine outline, use a number 2 nozzle, link here
- squeezy bottles – one bottle for every colour, we use these. It’s good to have a range of smaller and larger bottles depending on your quantities of coloured icing needed for your biscuit lot.
- Edible colouring gels – we use these
- cocktail sticks for adding and mixing colour (useful, but not essential – a spoon will do)
Makes: 24-30 biscuits
Serves: 10-15 adults or 20-30 children
INGREDIENTS
For the biscuits:
-
- 350g plain flour
- 100g self-raising flour
- 125g granulated sugar
- 125g salted butter softened, diced
- 125g golden syrup
- 1 teaspoon of vanilla bean paste
- 1 large egg lightly beaten
For the royal icing:
Any of the following three recipes will do- they’re all prepared in exactly the same way.
1. Powdered egg white recipe:
-
- 180ml water
- 1kg icing sugar
- 30g egg-white powder
2. All-in-one recipe:
-
- 150ml cold water
- 900g royal icing mix
3. Egg white recipe:
-
- 4 egg whites
- 900g icing sugar
METHOD
To make the biscuit dough:
- Sift the flours together into a mixing bowl, add the sugar and mix well.
- Add the butter. Using just the tips of your fingers, rub the ingredients together until the mixture resembles fine breadcrumbs.
- When all the butter is evenly mixed in, make a well in the centre and add the syrup, vanilla and the egg.
- Mix well, drawing in any of the flour left at the side of the bowl, and stop as soon as a ball has formed.
- Roll the dough to about 5mm thickness, or just under – be sure to roll it between sheets of parchment paper so the dough doesn’t get stuck.
- Bake in the oven for 15-25 minutes depending on the size of your biscuits at 170°C, or until golden brown.
Making the royal icing:
- Choose any of the three royal icing options as given above. Combine all the ingredients in a mixing bowl, starting with the liquids first.
- Add the dry ingredients and whisk or beat for about 5 minutes if using an electric beater or whisk, or for longer if using a wooden spoon. Whisk slowly to start with to avoid clouds of icing sugar covering you and your kitchen!
- Continue whisking until the ingredients form a thick, smooth paste that is bright white in colour and has the consistency of toothpaste.
- If you are not using it immediately, cover the surface of the icing with cling-film to stop it drying out and refrigerate.
- Select your colours you want to create and set as many small bowls as different colours you will be using.
- Now divide your icing, roughly determining how much icing you will require of each colour. There’s a bit of guesswork involved here. For ours, we needed roughly equal parts pastel green, pastel blue and white, with a small amount of red for the spots and a small amount of black for the eyes.
- Now you have the basic recipe, let’s get a little more technical…
LINE ICING
The royal icing you have made, with the quantities above, should be the texture of toothpaste – perfect for line icing, which is the outline icing to fence in the flood icing on the biscuit. If it seems a bit stiff add a little water – remembering a tiny amount of water goes a long way.
To make the outline which you will then fill with flood icing (made by adding a very small amount of water to your royal icing) you need to make sure your trail forms an unbroken wall around the shape you need. If there are any gaps the flood icing will flow through.
When you first start, or if you are icing with children, either choose a larger plain nozzle (no.3) or cut a larger hole in the end of the piping bag. For a higher quality, finer result use a number 2 nozzle. Let the walls dry for about 5 minutes before filling with the flood icing.
FLOOD ICING
Flood icing is just a little runnier than the line icing – you just need to add a tiny bit of water slowly to the royal icing to get the right consistency – it should just about pour gently from a spoon.
The ideal method to apply the flood icing is by using little clear plastic squeezy bottles. For any tiny areas it’s easier to use a piping bag. Fill the area in just the same way as with the line icing but be careful as the icing will pour out of both ends if unsecured.
For simple designs, or when you are starting out you can just spoon the icing on the biscuits and spread out using a cocktail stick or a little skewer.
COLOURING THE ICING
You’ve now divided your white icing among breakfast-size bowls into roughly judged quantities for your different colours. Take out your gel colours and a pot of cocktail sticks. Using very small amounts of colouring, gently mix through all the colours you will need. Try to judge how much of each icing colour you’ll need to put into piping bags for your line icing to make the borders and perimeters on your biscuits. It won’t be much, probably around a quarter to a fifth of the amount in each bowl – but there needs to be enough in the bag to be able to squeeze the icing through the nozzle with pressure. The remainder of the icing will then be gently watered down for your flood icing.
Icing the biscuits:
- First do your line icing on all your biscuits in your selected colours. Try to put each piping bag in the fridge the moment you set it down for a new colour to keep it from hardening. The set the biscuits aside to dry and harden.
- Once the icing has dried for at least 5 minutes, you can use the squeezy bottles to flood the biscuits, covering the whole area neatly and smoothly between the lines. Similarly, put each bottle in the fridge the moment you select a new colour to use.
- Finally, add any extra decorative details with your line icing again.
You can then return your biscuits to the oven to dry for around 30 minutes. It’s not essential, but at Biscuiteers they put their biscuits in a very very low temperature oven (the lowest your oven can go) to make sure the icing is totally dry. Don’t worry, the biscuit won’t burn and the icing will not melt! The heat helps set the biscuits so they have that glossy and smooth effect on top.
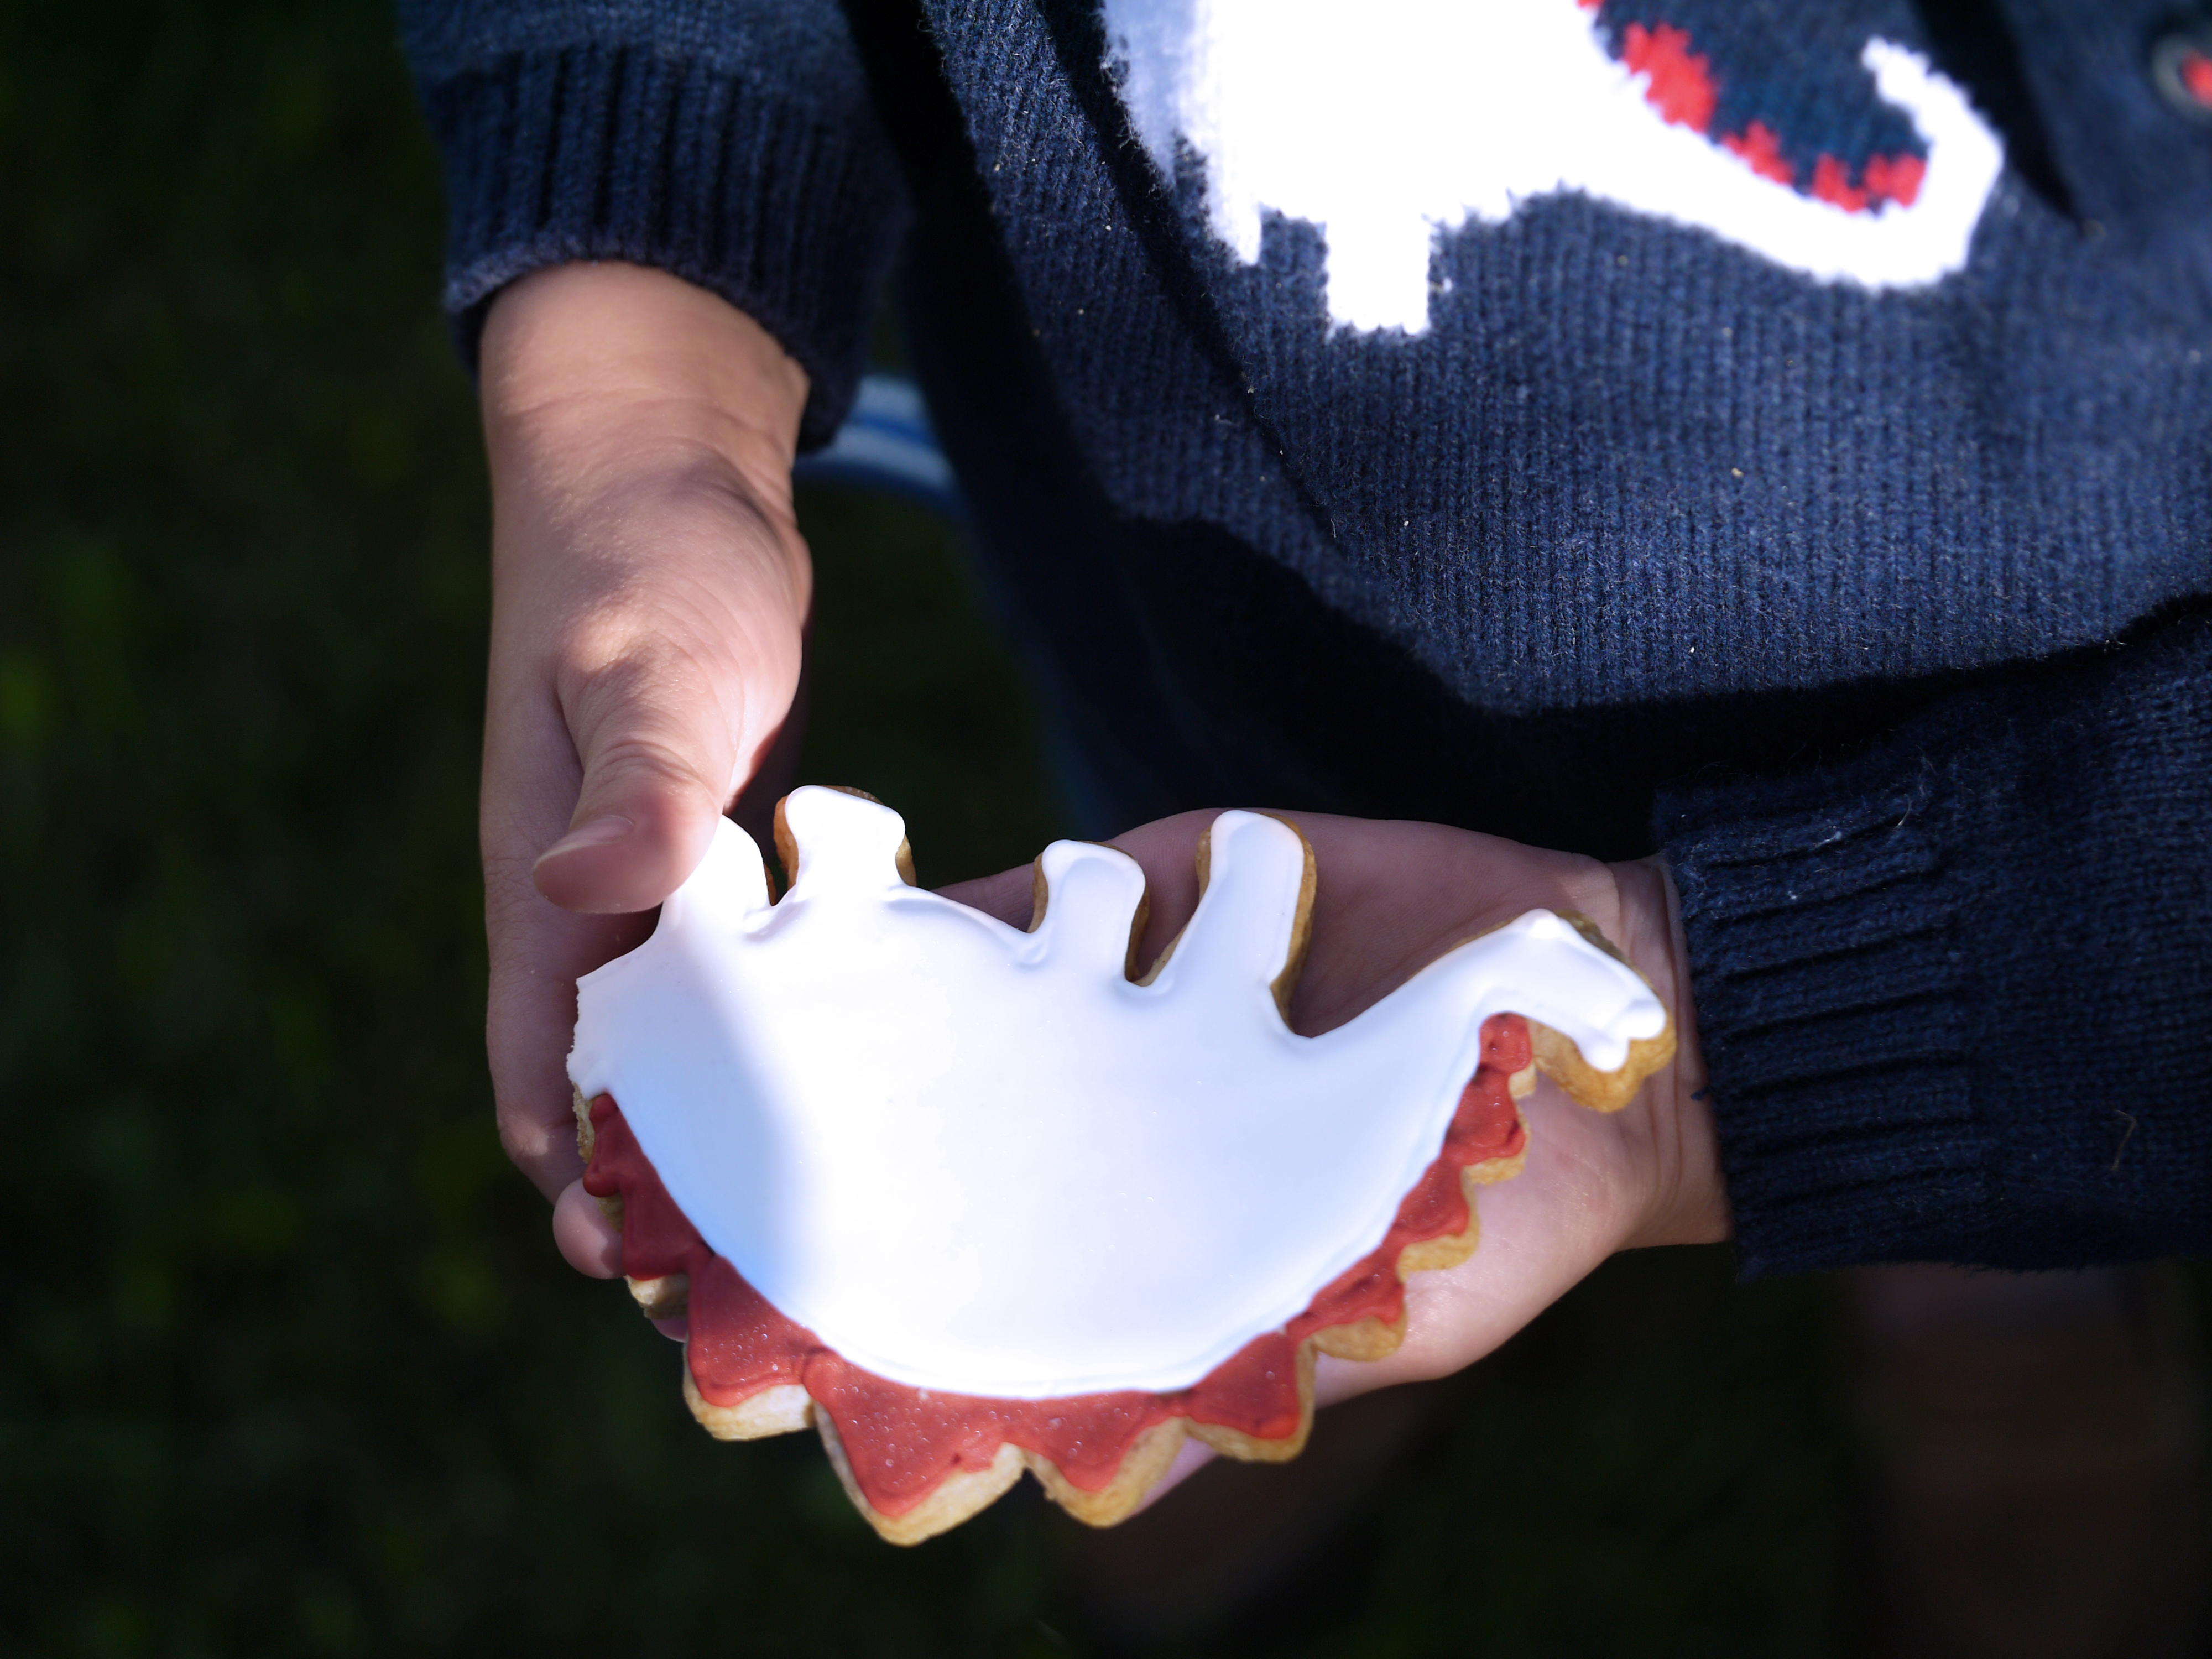
Our two adored the fact they were eating the very same white and red stegosauruses featured on their new jumpers in biscuit form.
